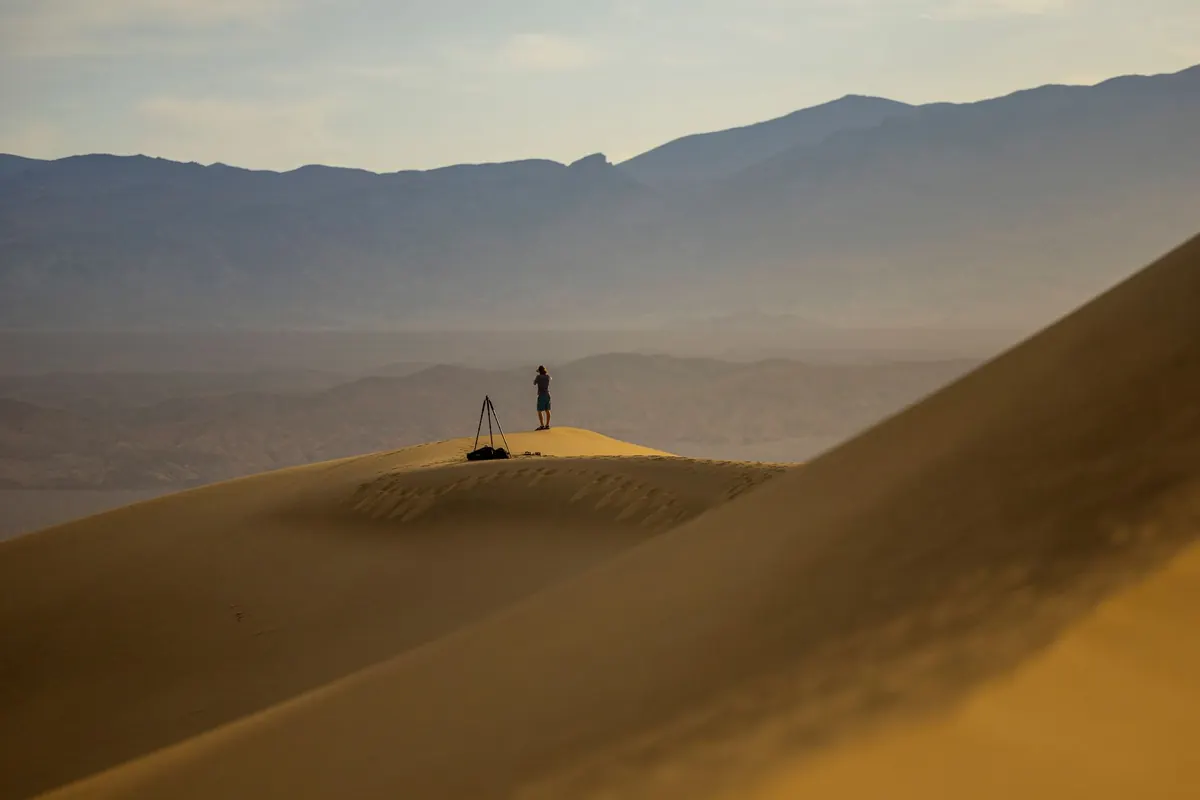
The desert is generous with light and unforgiving about everything else. Fine grit works its way into zoom barrels, lens threads and sensor chambers, and one careless lens change can put spots on every frame for the rest of a trip. None of this is hard to manage, but it has to be planned before you leave the tarmac. What follows is the routine worth running for sand seas, stony plateaus and salt flats, from choosing kit through to getting your files home safely.
Start With Gear That Tolerates Dust
A weather-sealed body and lens pairing is the simplest upgrade you can make. Beyond that, think about how each lens moves air. Big trombone zooms that extend and retract act like pumps, pulling dust into the barrel every time you zoom. Internal-zoom zooms and primes are far kinder to you.
Two bodies sound excessive until you have spent twenty minutes crouched behind a bag changing lenses in a crosswind. Even an older spare body means fewer mount exposures. A clear or UV filter in front of an expensive front element is cheap insurance, and a polariser earns its place in the desert by deepening sky and cutting glare off sand and water, at the cost of a stop or two of light.
For carrying, a zipped, padded bag beats an open shoulder bag every time. Add a roll-top dry bag for the worst days, a handful of silica gel sachets, gaffer tape for hot shoe and port covers, and at least two spare batteries kept out of direct sun, since heat shortens their life noticeably.
Settings for Hard, High-Contrast Light
Shoot RAW. Set base ISO. Then decide how you want to meter, because bright sand fools a camera in two opposite directions depending on the frame.
- Sand filling the frame: the meter tries to render it mid-grey, so your image comes out dull. Add a little exposure compensation until the histogram sits comfortably to the right.
- Bright sky in frame: protect the highlights. Blown dunes cannot be recovered, so expose for the sky and let the foreground fall dark, or bracket.
- White balance: fix it at daylight rather than leaving it on auto. Auto drifts between frames and makes a sequence irritating to grade.
- Aperture: f/8 to f/11 is usually the sweet spot for dune textures. Go smaller only if you truly need the depth, as diffraction softens detail.
Turn on the histogram and highlight warnings and actually look at them. For sunrise and sunset, bracket three frames a stop apart. For moving sand, shutter speed is your creative control: around 1/500 sec freezes grains in the air, while a slow shutter smears them into a haze, which often looks better than you expect.
Change Lenses Less, and Never in the Wind
Decide on two lenses before you leave the vehicle and stick to them. When you do change, do it inside a large zipped bag or in the vehicle with the windows up and the fan off. Point the camera body downwards, keep the rear cap in a pocket rather than on the sand, and never change optics on an exposed dune crest.
If you have no choice but to work outside, crouch, turn your back to the wind and use your body as a shield. It is not elegant, but it works.
Cleaning Without Making Things Worse
Order matters more than products. Blower first, then a soft brush, then a microfibre cloth, and only if the surface is genuinely free of grit. Wiping a lens with sand on it grinds the coating.
At the end of each day, wipe the body and the barrel joints with a barely damp cloth, then dry them. A useful habit with zoom lenses: extend the barrel, wipe it clean, then collapse it, so you are not dragging grit inside. Keep dirty cloths in a sealed bag and wash them properly when you get home.
Leave the sensor chamber alone unless you have a real problem. A few dust spots visible at f/16 can be dealt with in editing, and opening the camera in a dusty environment usually adds more debris than it removes. If your sensor needs a wet clean and you have not done one before, have it done professionally before the trip rather than practising in the field. Skip canned air entirely; propellant can spit onto the sensor.
Backing Up Where There Is No Signal
Cloud storage is irrelevant in a place with no coverage, so redundancy has to be physical. Use several moderate-capacity cards rather than one enormous one, so a single failure costs you an afternoon rather than the trip. Offload every evening, ideally to two separate drives, and open a few files to confirm they actually copied rather than trusting a progress bar.
Keep one copy on your person and the other in your main bag, and do not format cards until everything is safely backed up at home. The cards are your third copy and they travel well. Bear heat in mind: a parked vehicle in the sun gets brutally hot, and drives left in a boot suffer for it. Store them padded and shaded, and keep card wallets labelled so you know exactly what is where.
A Ten-Minute Pre-Shoot Check
- Batteries charged, spares stored somewhere cool
- Cards formatted in camera and labelled
- Sensor checked against a plain surface at a small aperture
- Blower, brush, cloths and silica sachets in the bag
- Front filter clean, hood fitted, second lens chosen
- RAW, fixed daylight white balance, histogram and highlight warnings on
- Tripod legs wiped before collapsing, so grit stays out of the locks
- Empty drives charged and ready for tonight's offload
Keep the Routine Short Enough to Follow
Two minutes in the morning and ten at night covers almost everything here. The photographers who come back from a desert trip with clean files and intact kit are rarely the ones with the most gear; they are the ones who decided in advance when they would change a lens, how they would meter, and where the second copy of their images would live. Sort those three things before you go, and you can spend your attention on the light instead.
Photo: Stephen Leonardi / Pexels