You feel the nose drop, the steering go light, and then the rear tyres start to churn. The instinct is to bury the throttle and hope. That instinct is what turns a five-minute dig into a two-hour recovery, a cooked clutch or a snapped halfshaft. Sand rewards patience and punishes enthusiasm.
What follows is the order of operations that works: stop, assess, lower pressures, dig, add traction, and only then consider a pull. Done properly, everyone drives out with the vehicle — and the desert — more or less as they found it.
Stop and assess before you touch the throttle
The moment the wheels stop making progress, come off the power. Spinning digs you down quickly, and once the chassis rails are resting on sand, no strap in the world will slide you free. You have to lift and dig first.
Get out and walk around the vehicle. Which wheels are buried, and how deep? Is the belly touching? Is there a firmer line a metre to the side, or a patch of harder gravel just ahead? Pick your escape direction before you move any sand, because everything else you do follows from that choice.
Ask passengers to step out and stand well clear — they lighten the vehicle and keep the area behind it safe. Switch the engine off while you're working underneath. A hot exhaust buried in sand is nobody's friend, and idling for twenty minutes does the cooling system no favours either.
Pressure and digging: the two biggest wins
Dropping tyre pressures is often the difference between driving out and being pulled out. Soft sand responds well to a longer, flatter footprint, so let some air out — how much depends on the vehicle's weight, the tyre sidewall and how soft the sand is. Ask an experienced driver in your group if you're unsure, and remember that low pressures mean slow speeds, gentle steering and no tight turns, or you risk rolling a tyre off the rim. Reinflate before you touch tarmac.
Then dig, properly. Clear sand from in front of each buried tyre in the direction you intend to travel, shaping a gentle ramp rather than a wall for the tyre to climb. Take out the sand beneath the axles and the chassis, too: a spade's depth of clearance under the diffs is worth more than a great deal of shovelling further forward. A long-handled shovel does the bulk of the work; a short one gets under the vehicle. If you're the only one digging, rest often. It is hot, heavy work and most recovery injuries are backs, not vehicles.
Traction aids that earn their place
Once you have a ramp and some clearance, give the tyres something to bite on:
- Recovery boards or sand ladders. Dig a shallow trench so the board sits roughly level with the sand, angled slightly up in the direction of travel, and place it under a driven wheel. Feed the throttle in gently — spin will fire the board out behind you.
- Improvised traction. Hessian sacks, canvas groundsheets, carpet offcuts and dead brushwood all work, and can be buried with the rest of your kit. Collect only dead material and leave living plants alone; they are holding the dune together.
- A jack and a wide base plate. Useful when the chassis is grounded. A hi-lift or exhaust jack on a sand plate can lift a corner enough to get boards underneath, but never put any part of yourself under a vehicle supported only by a jack in sand.
- A second vehicle, a kinetic rope, or a winch. The heavy equipment. Worth having, and worth knowing how to use before you need it.
The snatch recovery, rigged safely
If digging and boards have failed, a gentle tow is next. Rig it like this:
- Both drivers get out and agree on direction, distance and who is doing what. Walk the line between the vehicles first.
- Use rated recovery points only — a proper tow hitch with a pin, or purpose-made front and rear recovery points. Never a tow ball, never a strap looped over a bumper or a suspension arm. A tow ball can shear off and become a projectile.
- Use a rated kinetic rope or recovery strap with rated shackles, and hang a damper — a purpose-made one, or a heavy blanket or jacket — over the middle of the strap.
- Keep everyone else well clear and off to the side, never in line with the strap, and no closer than the strap's length plus a generous margin.
- Take up the slack gently, then apply steady, moderate power. The bogged driver stays belted in, applies light throttle in low range once the strap is taut, and steers. Both vehicles share the load.
- Stop the moment anything looks wrong. A strap that has stretched and suddenly releases is dangerous.
Communication keeps it calm
Recoveries go wrong when nobody is sure who is in charge. Nominate one spotter — usually the person who has done this most — and let them be the only voice. If you have radios, use them; if not, agree hand signals before anyone moves: a raised palm for stop, a circling hand for take up the slack, a thumbs up for go.
Then count it out loud. "Taking up the slack… pulling… stop." Everyone hears the same thing at the same time, including the driver who can't see behind them. If anyone shouts stop, everything stops. That rule has no exceptions, even when you think you're nearly out.
Knowing when to walk away
If two or three serious attempts have failed, the vehicle is sinking rather than rising, or the light is going, stop and reassess. Digging in the dark, with tired people and a hot engine, is how vehicles get real damage. Local recovery services and desert guides exist for exactly this situation, and calling one is not a failure of driving skill.
Watch the people as closely as the vehicle. In serious heat, dizziness, cramps, headache or confusion are warning signs that need shade, cooling and proper medical help, not another twenty minutes with a shovel.
After you're out
Once the vehicle is moving, drive a short distance onto firm ground and stop again. Check the tyres for damage and beads that have slipped, look for anything wrapped around the driveline, and count your boards and straps back in. Reinflate to road pressures before you hit tarmac, because low-pressure tyres overheat and fail quickly at speed.
Finally, put the sand back. Fill in the holes you dug, flatten the churned ruts where you can, and take every scrap of kit with you. A tidy recovery site is the mark of someone who knows what they're doing — and it means the next driver through finds a dune, not a mess.
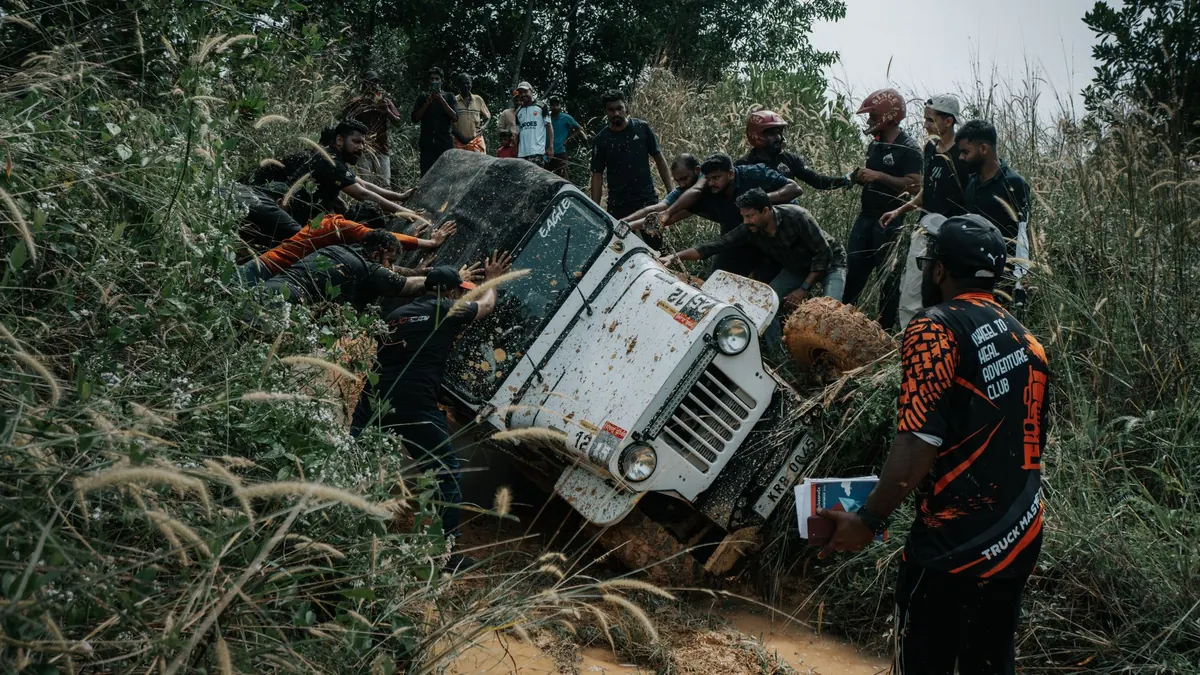
Photo: Sleeba Thomas / Pexels